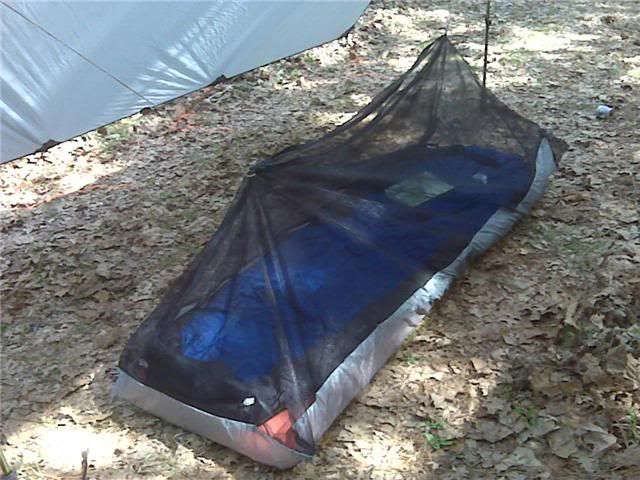
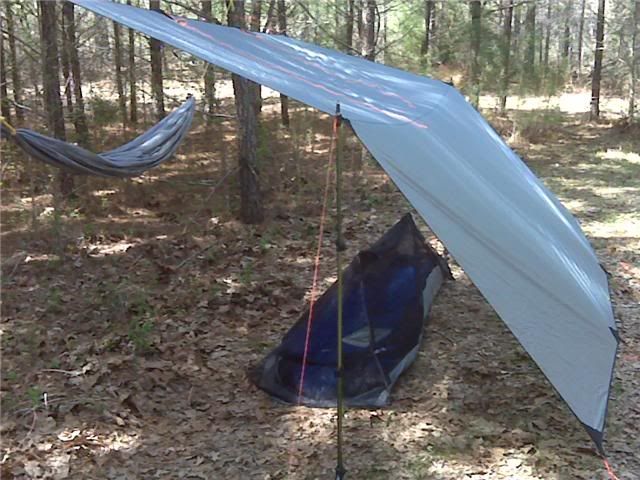
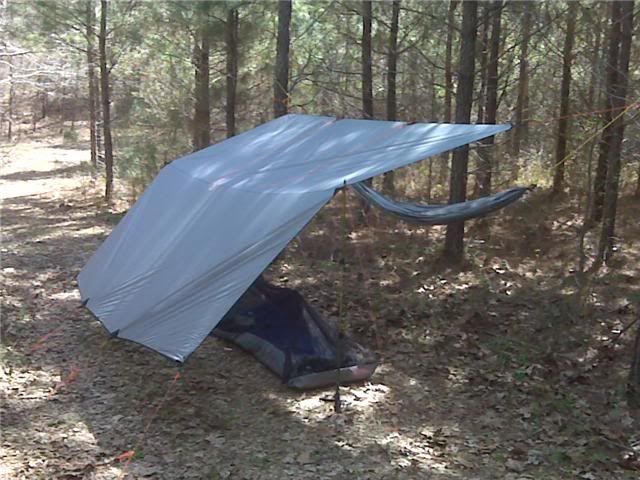
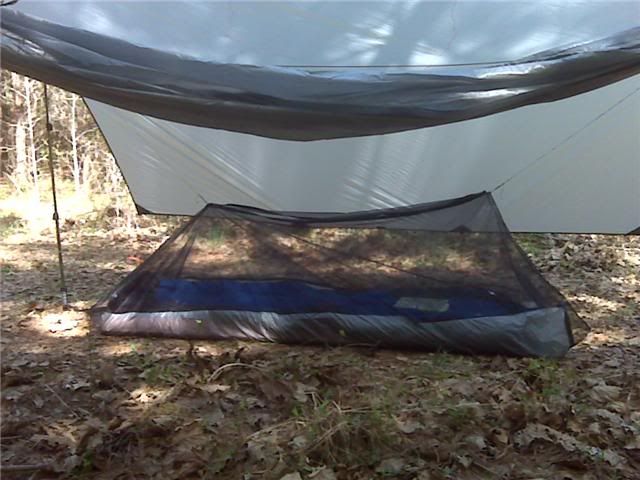
Didn't think about the sheers.......
- Home
- Forum
- Journals
- Gallery
- What's New?
- Todays Posts
- 2,000 Miler Listing
-
Odd & Ends
- About WhiteBlaze/Tools
- About WhiteBlaze
- WhiteBlaze user agreement
- WhiteBlaze logo progression
- WhiteBlaze screen savers
- Purchase a banner spot
- Quick reference
- Usercp
- Subscribed Threads
- Members List
- Calendar
- Mark all forums read

 Reply With Quote